RPi Setup
1. Getting equipment
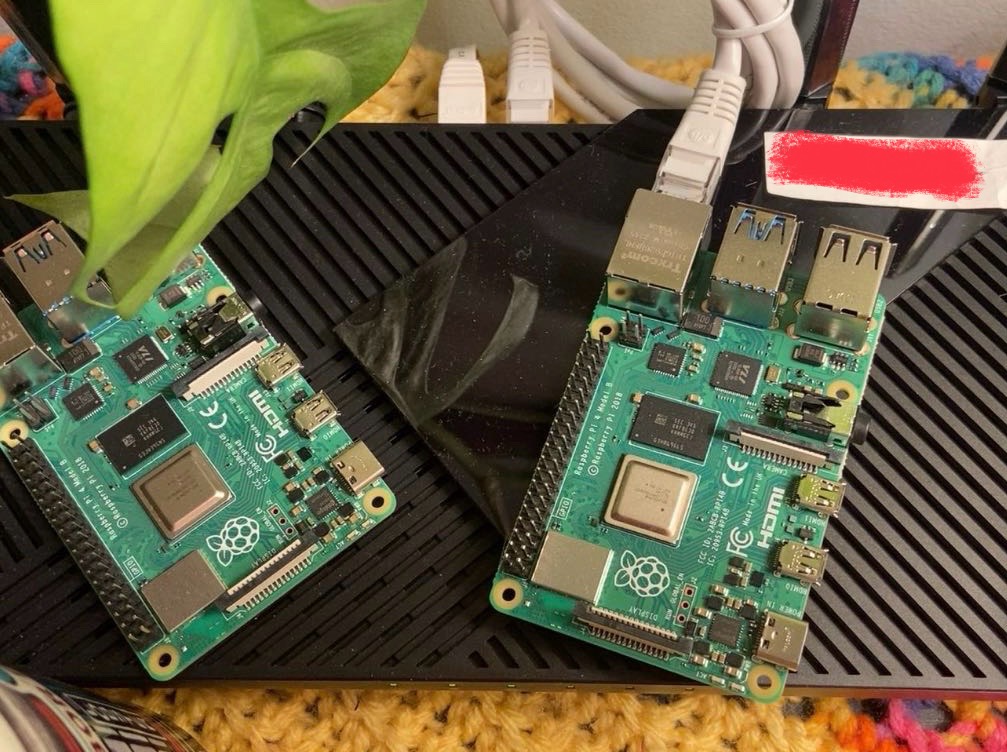
- For my experimental purposes, I decided two Raspberry Pi 4Bs w/ 4GB RAM would suffice as the worker nodes.
- For faster/more reliable message passing, I wired my RPis through through Ethernet using an Archer AX21 router.
- These choices were cheap and still allow for incremental scaling of the system.

2. Set up the RPis
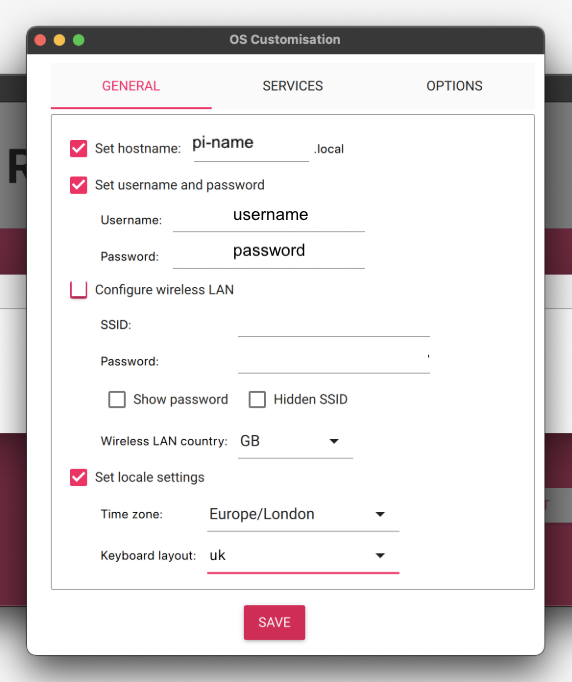
You will need a microSD card to install the Debian OS onto the RPi. While doing this, choose to customize the OS.

This will allow you to choose a username, an RPi specific name and a password.
Lastly, go to “options” and click “enable SSH”.
3. Setting Up SSH into RPis
To set up an SSH connection you will need your pi-name, username, password and the IP address of the RPi on your local network. Because I am using an Archer router, I could monitor WiFi connections and find my RPi’s IP address using the Tether app.
To connect to the shell, run
ssh name@IP
and enter the password you chose when setting up the RPi OS when prompted.
For quicker access I recommend setting up an SSH authentication key in your terminal,
ssh-keygen -f ~/.ssh/rpi1_key
where “-f” indicates the file to store the key in. Then copy the public key into the shell of the RPi,
scp ~/.ssh/rpi1_key.pub username@<rpi-IP>:/
The destination for the public key on the RPi is not critical.
Then, on your local machine, edit ~/.ssh/config by adding
Host pi-name
     HostName <rpi-IP>
     User username
     IdentityFile ~/.ssh/rpi1_key
And now you can ssh into your raspberry pi without a password by running
ssh pi-name